
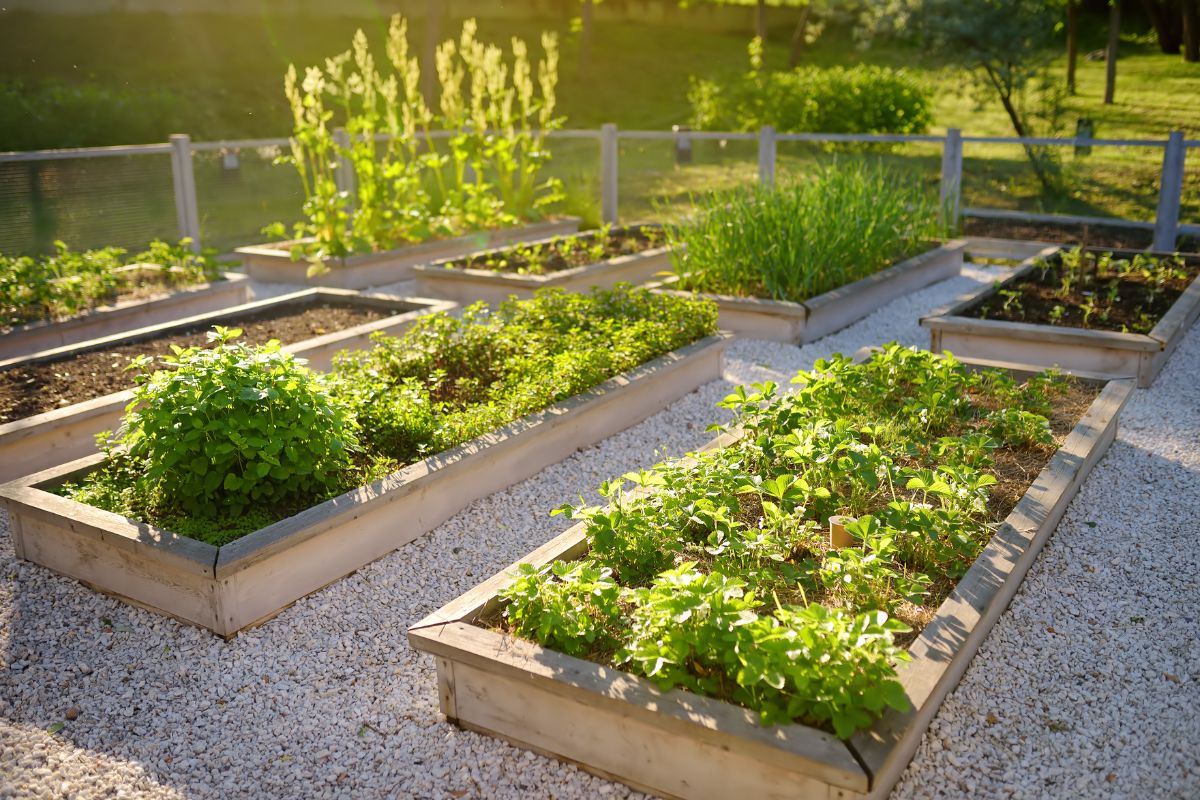
If you want a garden but your property is short on space a raised garden bed might be your answer. Plus, it can help make gardening more friendly on your knees and back!
Here in Western Washington, raised garden beds offer a multitude of benefits that make them an excellent choice for both novice and seasoned gardeners. They provide better drainage, which is essential in our rainy climate. Raised garden beds can help prevent soil compaction and make it easier to manage weeds. They also warm up faster in the spring helping to extend your growing season.
With the ability to control the soil quality and composition, you can create the perfect environment for your plants to thrive by building your own raised garden beds. Keep reading for a how-to guide to build raised garden beds.
The Benefits of Raised Garden Beds
There are a wide range of benefits that make a raised garden bed an excellent choice for any homeowner. On top of being aesthetically pleasing and giving your yard a landscaped, curated quality, they also:
- Help you rotate and separate crops
- Protect the garden bed from foot traffic
- Have good drainage
- Let you optimize growing conditions
- Allow for a longer growing season as the soil warms faster above ground
- Give your back and knees a break from conventional gardening
- And depending on how ambitious you are, they can also provide additional seating for your yard
Though raised garden beds work in most climates and can be built and prepared at any time of the year, there are some things to consider as you gear up to build one of your own.
First, you’ll want to think about the optimal location for a raised bed on your property that isn’t too far from your house (better for hauling produce back and forth). Plus, make sure the area is accessible to a trailer or wheelbarrow with a place to stage your plants and materials.
Wood is one of the most popular container choices for raised garden beds. If you choose a wood container, be sure to go for unpainted wood that hasn’t been pressure-treated, to avoid the release of chemicals and other toxins in your soil. We recommend using cedar if possible because it’s rot and insect resistant and it can withstand our rainy weather. Western Red Cedar is easy to source from your local building supply company.
Using stones for the border is a unique option that not only looks visually stunning in your yard, but it’s also durable. Stones don’t break down like wood does, and because they absorb heat, they help warm the soil at night which may extend your planting season. If you decide to take this route, our team can help you find the rockery you need from our yard.
Other container options include composite decking boards, galvanized metal tubs that you can purchase from your local farm and garden store, cinder blocks or even bales of straw.
Step 1: Choose the Perfect Location
Select a sunny spot in your yard that gets at least 6-8 hours of sunlight per day. Ensure the area is relatively level to make construction easier and to prevent water runoff issues. Raised beds can also be placed on patios or concrete surfaces, provided they receive adequate sunlight.
Step 2: Determine the Size and Shape of the Container
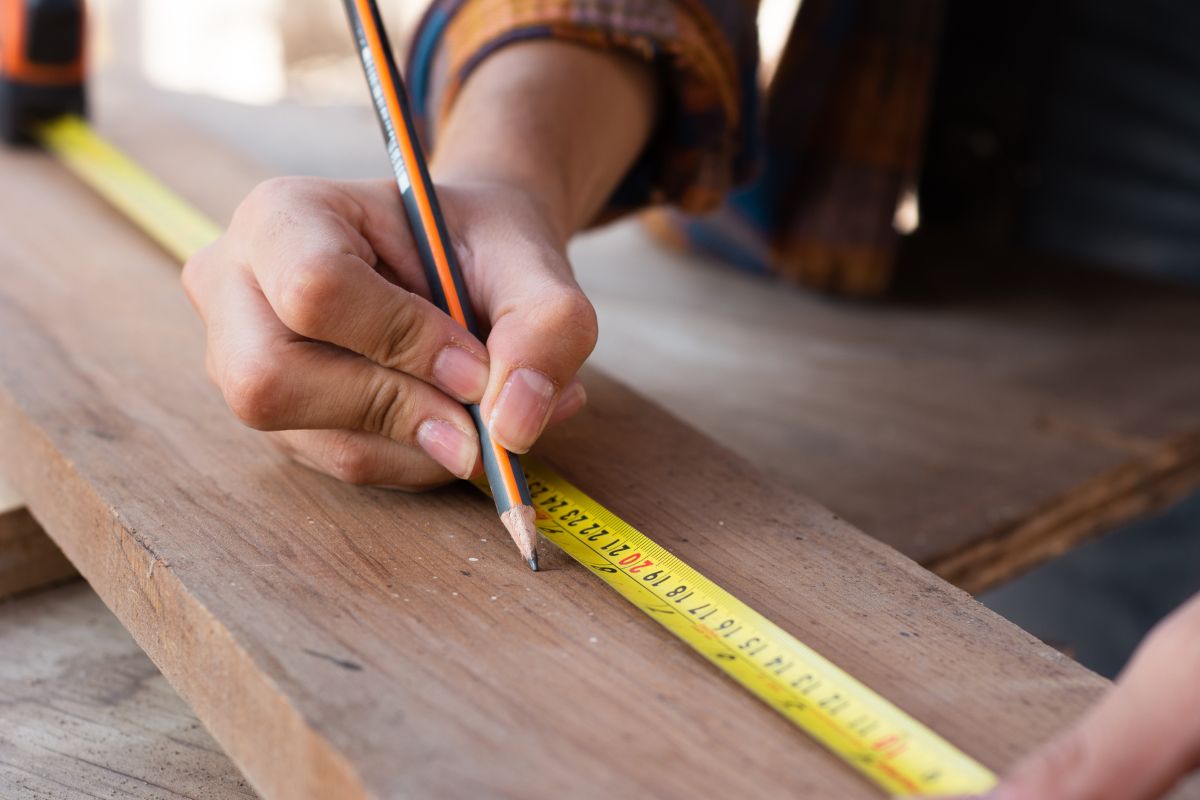
Decide on the dimensions of your raised bed. A typical size is 4 feet wide (for easy access from all sides) and 8 feet long. The height can vary, but you’ll want the beds to be at least 12 to 18 inches tall to support your vegetables and plants. If you have mobility or back issues, consider building taller beds to avoid bending over. Cut the wood to the desired lengths. For example, for a 4×8 bed, you’ll need two 4-foot boards and two 8-foot boards.
Step 3: Prepare the Ground
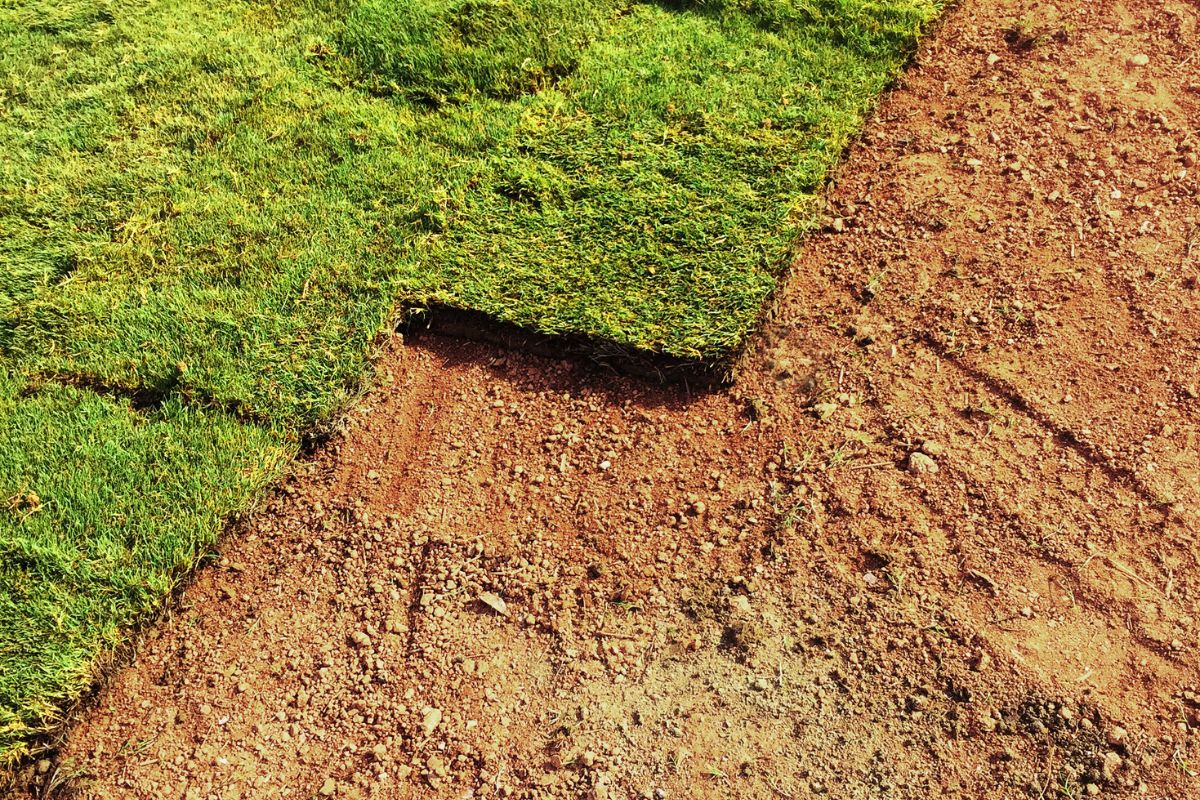
If you’re placing the beds directly on the ground, make sure the area is level. And then choose the step that’s right for you:
- Remove the grass. Clear the area of grass, weeds, and debris. A sod cutter can come in handy here helping you to easily peel back the grass and access the soil. Loosen the soil to improve drainage and then add a layer of our Premium Turf Mix to help level the area. This material is higher in nutrients and organic content and drains well but at the same time retains a balanced amount of moisture because of the organic content. Or, consider the second option.
- Put down newspaper and/or cardboard over the grass. Cardboard will suppress the growth of grass and weeds and it will naturally decompose
Next, if you live along a greenway or in an area with high rodent activity, consider adding stainless steel rat and gopher mesh and then lay down landscape fabric to prevent weeds from growing up into your garden bed. If you laid down cardboard already, adding landscape fabric is just another layer of weed prevention that you can omit if it’s not in your budget.
Step 4: Assemble the Container
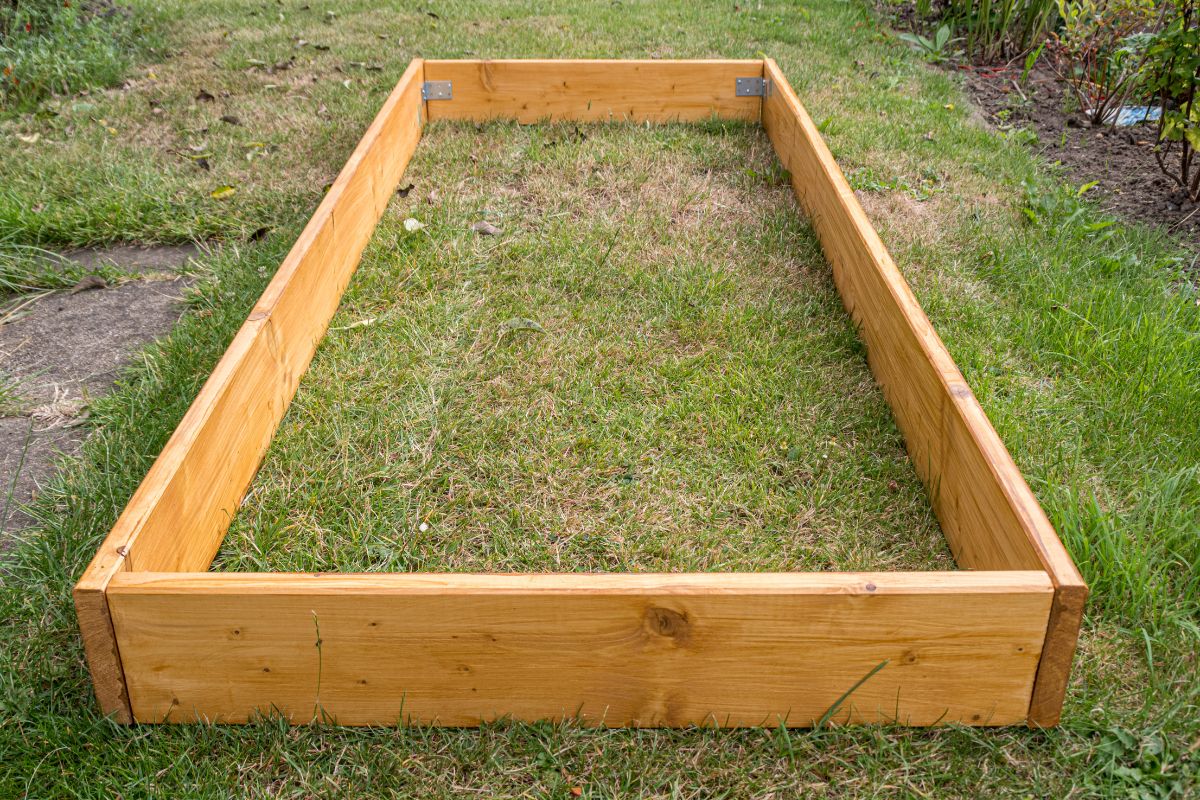
- Lay out the boards on the ground to form a rectangle.
- Use galvanized screws or nails to secure the corners, ensuring the sides are perpendicular to each other. A power drill will make this process quicker and more efficient.
- Check that the frame is level and adjust as needed.
Step 5: Fill the Bed
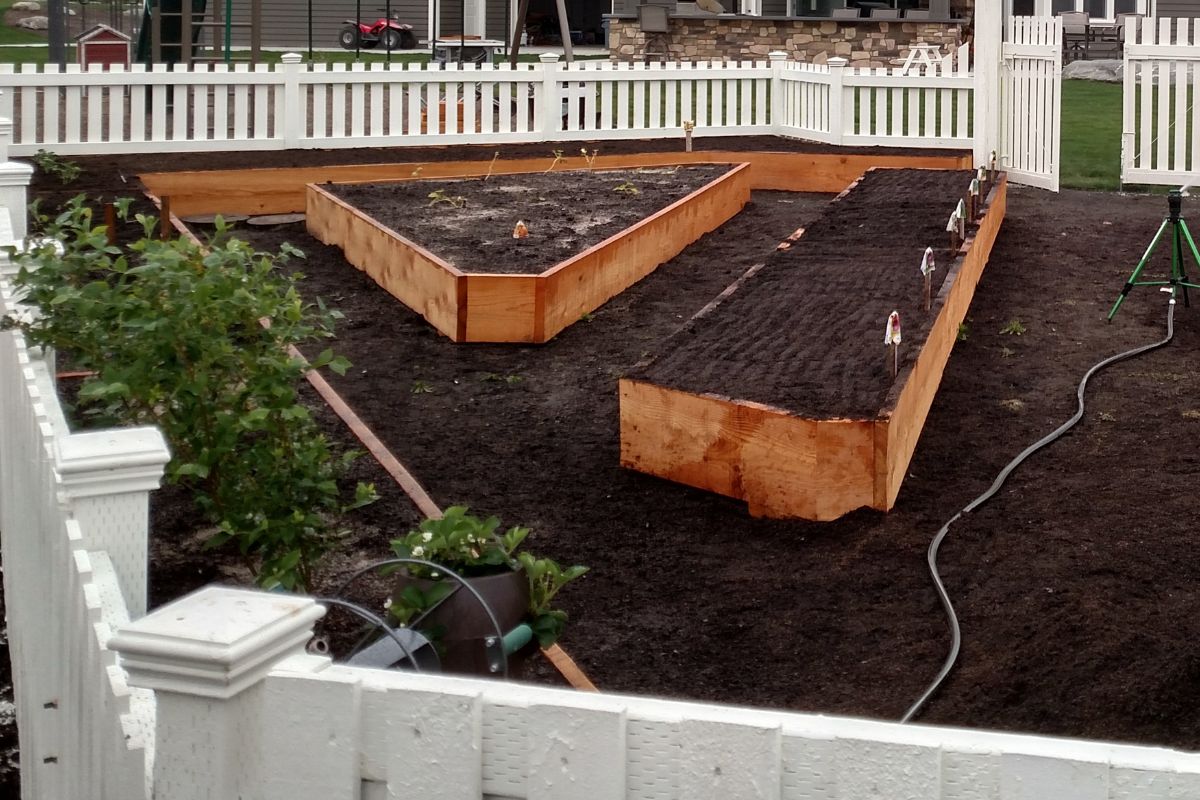
Now for our favorite part! Fill the bed with GardenBlenz or GardenBlenz Organic, a high-quality loamy soil that is specially formulated with premium GreenBlenz Compost and Top Mix Sand. It’s an ideal blend for vegetable gardens because the premium soil is rich in nutrients and it contains a solid balance of sand and compost for optimal drainage and moisture retention.
If your raised beds are taller than 18 inches, you may want to take a budget friendly route and add a base of Planting Soil and then fill in the remaining 18 inches with GardenBlenz.
Water the soil well and then top off the beds with the remainder of your GardenBlenz soil to prepare for the next step
Step 6: Plant Your Garden
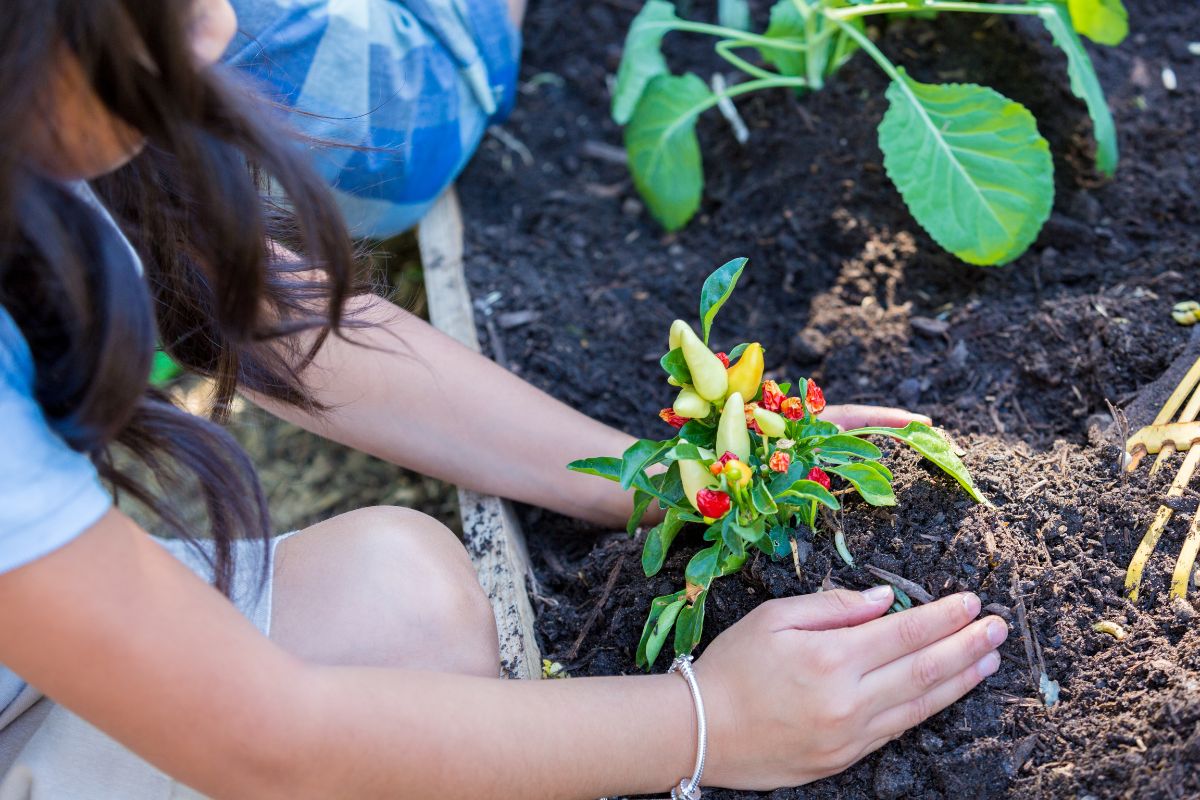
The moment you’ve been working towards is here! Head to your local garden center and talk with their experts to choose the best kind of varieties for your garden. Vegetables like kale, lettuce, cabbage, carrots, and tomatoes do particularly well. And ask about the best companion plants that will help attract pollinators and ward off pests.
We like to refer our customers to regional garden stores like Orchard’s Nursery, By The Falls Gardens, Salazars Nursery & Landscape Supplies, Christianson’s Nursery & Greenhouse, and many more! Their experts will help you find the right fertilizer and give you pointers for optimal care.
Earth Materials List
Here’s a handy list for you to reference. When it comes time to build your raised garden bed, we’ve got the soil, compost, rockery, mulch and all the earth materials you’ll need. You can pick them up or we can deliver!
Check out the Fill Materials Calculator and our Rock Wall Calculator to get an idea of how much product you may need.
- Large rocks (if making a stone border)
- Washed sand
- GreenBlenz Compost Organic
- GardenBlenz Soil Organic
- GardenBlenz Soil
- Mulch
- Cedar Chips
- Cedar boards
- Galvanized screws or nails
- A power drill or hammer
- Measuring tape
- Level
- Landscape fabric
- Stainless steel wire mesh
- Garden tools (shovel, rake)
Thanks for Reading!
If you found this article helpful, get to know us by following Lenz Enterprises on Facebook and Instagram. We regularly provide education about soil, compost, and Earth materials, gardening advice and plenty of humor too! If you’re located in western Washington and need soil, compost, mulch, sand, or gravel, give us a call 360-629-2933, we’re here to help.