A Fall Checklist for PNW Homeowners
As the weather cools and the growing season slows, it’s time to prepare your property for winter. As a Pacific Northwest homeowner there are five things you should do before the season’s first freeze.
From dethatching and aerating your lawn to prepping your soil and managing your irrigation, winterizing involves several steps that, when taken now, will yield big benefits next spring and beyond.
1. Dethatch & Aerate Your Lawn
During the growing season, your lawn can develop a dense layer of thatch– a layer of dead and living organic material that collects between the grass and the soil. Thick layers of thatch can block air, water, and nutrients from reaching the soil, preventing grass roots from growing deep enough. Dense thatch is also a haven for insects like cutworms and chafer beetles.
To combat thatch:
- Cut the grass. Mow your lawn to about half of its regular height to give you better access to the thatch.
- Lightly water the area. This will make it easier to penetrate and lift the thatch. Do this the day before you tackle the next step.
- Remove the thatch. If you have a small section of grass to maintain, and the thatch isn’t too thick, use a thatch rake to break up the tangle of matted material. To manage larger areas or extra dense thatch, consider renting a power rake, electric dethatcher, or vertical mower from a local hardware or home improvement store.
Rake up the debris after dethatching to help air and water reach the soil and prepare to aerate your lawn.
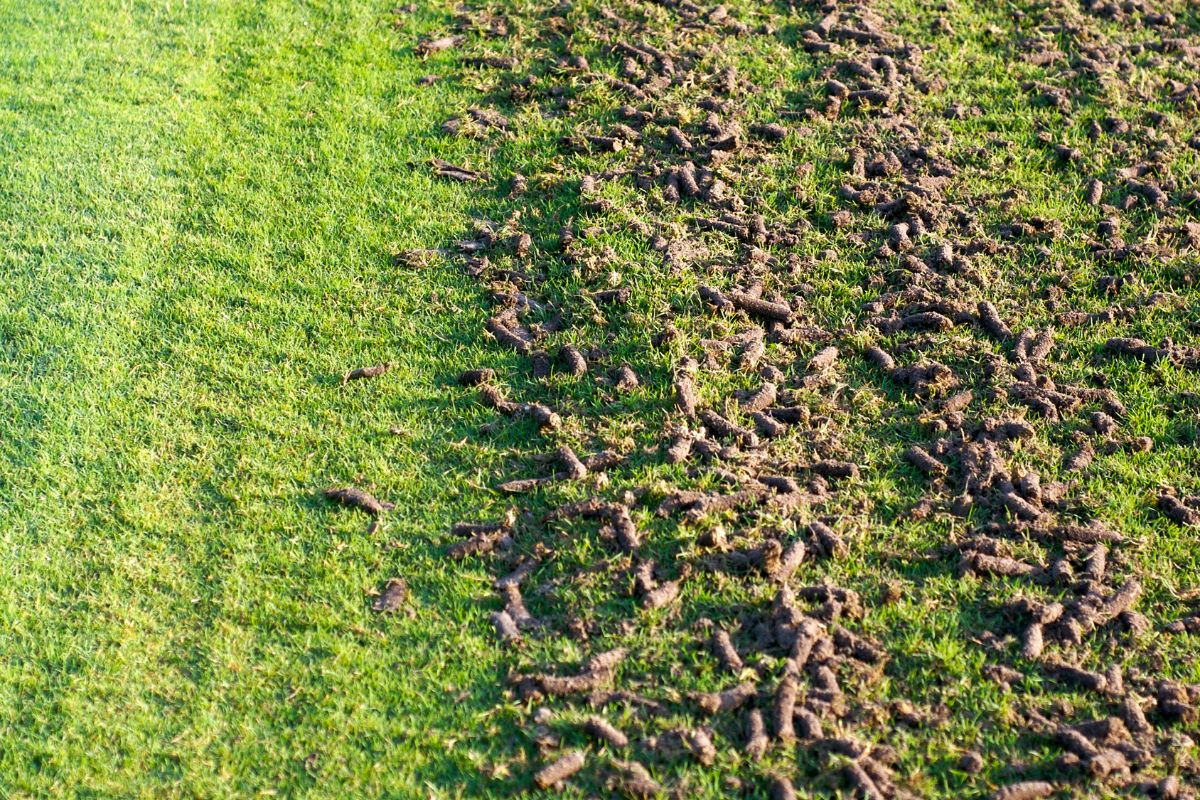
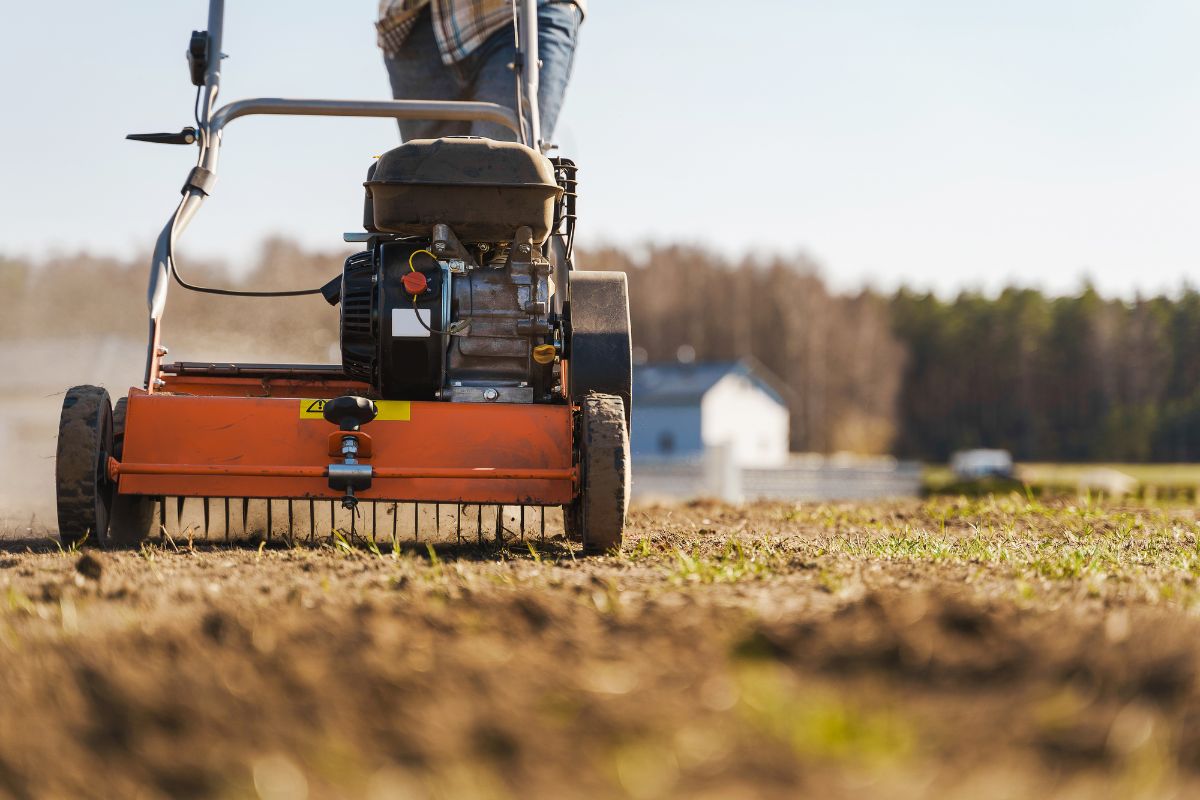
Aerators pull out plugs of soil, creating room for your grass roots to grow deeper and stronger. You can rent an aerator through a local equipment rental company or hire a lawn care company to tackle the job.
Before aerating, the soil should be slightly damp but not overly wet for best results.
- Choose an aerator type. Hollow tine aerators remove plugs from the soil to help improve the soil structure. The solid tine variety pokes small holes in the earth to allow for more water penetration. Hollow tines are ideal for most yards, but solid tines are especially helpful for heavy clay soils.
- Adjust the size. The ideal core size for your yard depends on several factors: the thatch thickness, the level of compaction, and the type of soil. However, the general rule of thumb is a core that is ¾” thick and 3” long.
- Make enough holes. Aim to make 20 to 40 holes per square foot. It may take several passes to achieve this, and it’s helpful to work in different directions for full coverage.
- Water deeply. If there is no rain in the forecast, water the ground well after aerating to nourish grass roots and help the soil settle.
- Let the plugs dry. Let the plugs dry out and then you can mow over them or rake them so the soil settles.
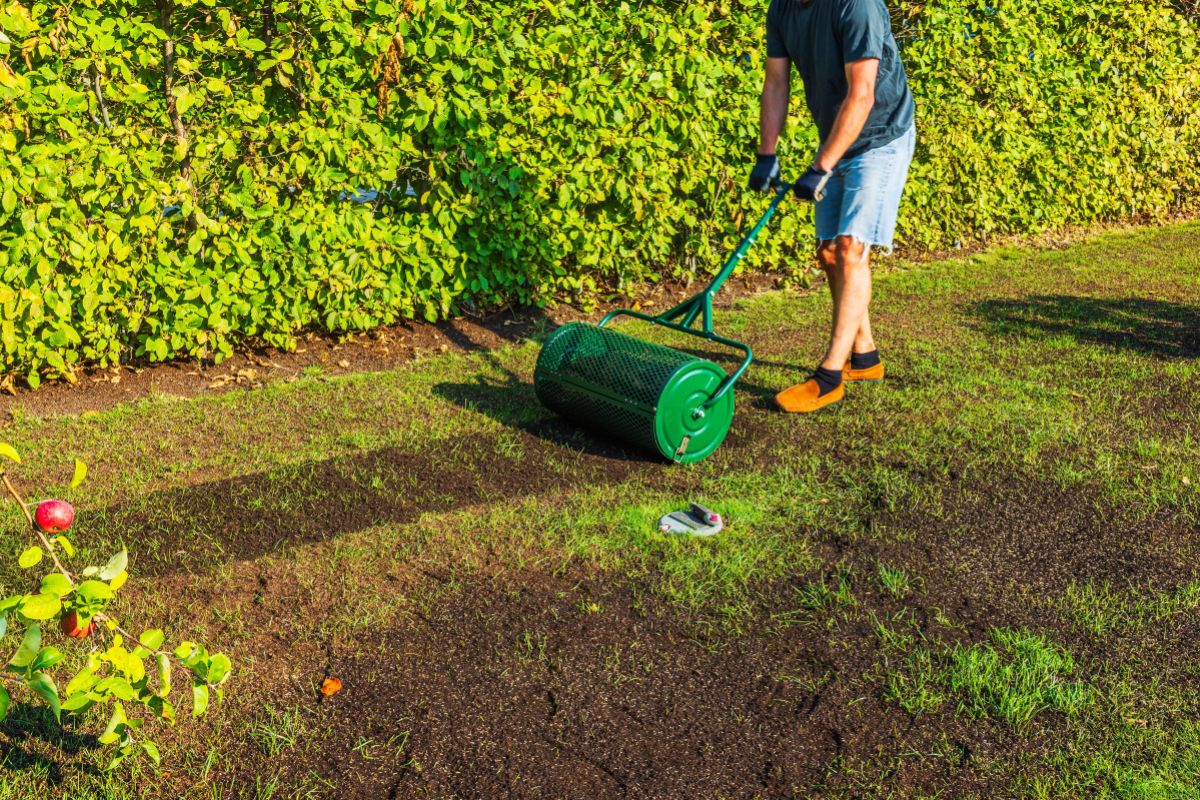
2. Top Dress Your Lawn
Once you’ve removed the thatch and aerated your lawn, it’s time to top dress it with a ½” to an 1” of GardenBlenz Soil or Lenz’s Turf Mix which is a blend of GreenBlenz Compost and top mix sand processed through a 7/16th screen. Turf mix is a bioretention soil that is highly permeable and the compost adds macronutrients to the soil to strengthen soil structure and improve biodiversity, while encouraging drainage.
If you have divots and uneven areas around your yard, now is the perfect time to fill them in and level your lawn.
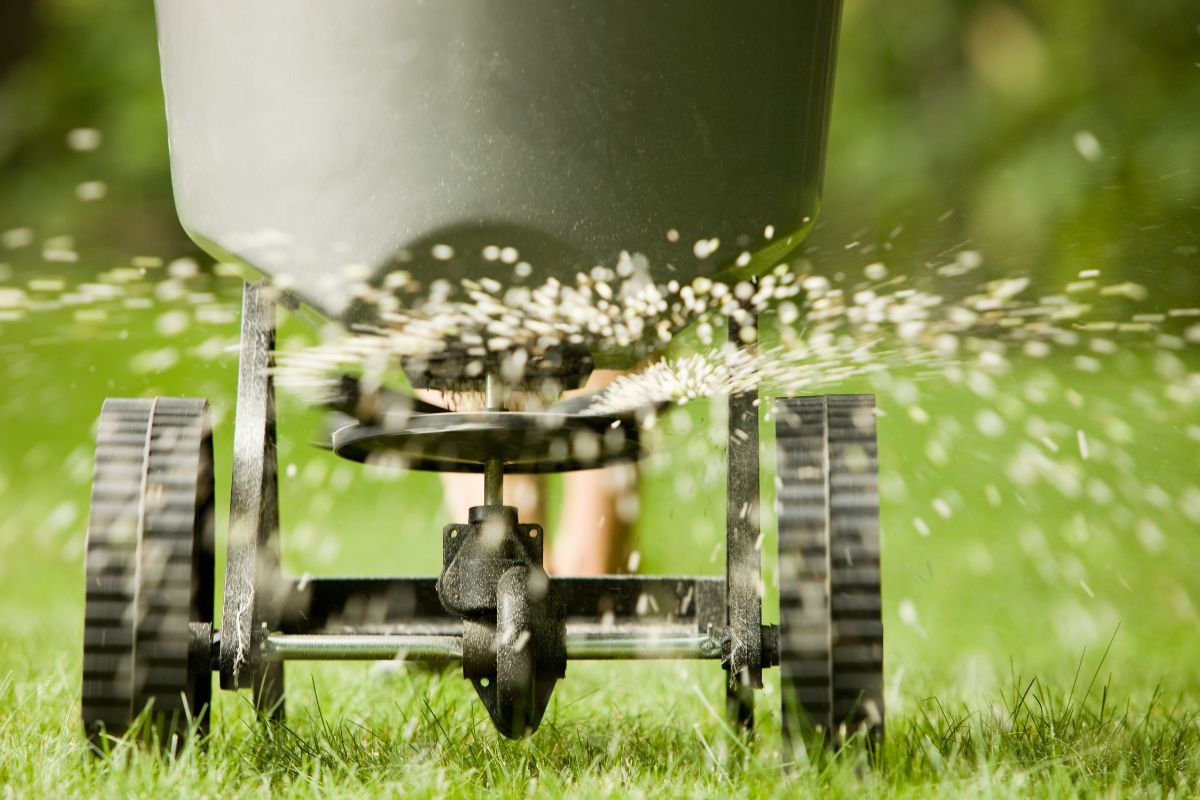
3. Seed Your Lawn
After top dressing your lawn, put down a good layer of grass seed. Overseeding helps thicken your lawn, filling in any sparse and damaged areas.
It’s important to wait for cooler temperatures before you lay down seed. Hot temperatures can dry out seeds and cause heat stress and disease. An ideal soil temperature for seeding is between 55° and 70° degrees.
Before you start seeding, prepare the ground for successful germination.
- Pre-water the ground. To kickstart the germination process, water a day before seeding. For best results, aim for moist dirt but not saturated ground.
- Adjust seeding rate. Small areas can be seeded by hand; larger areas require a seed spreader. Determine how much grass seed to apply by reading the packaging.
- Water the soil. You’ll need to water immediately after seeding. For the first 2-3 weeks, water regularly – but moderately – and do so in the morning. Resume a regular watering schedule once you see seedings emerge.
4. Garden Bed Cleanup
Your lawn isn’t the only area that needs winterizing. Your gardens also need attention in the fall for healthy blooms in the spring.
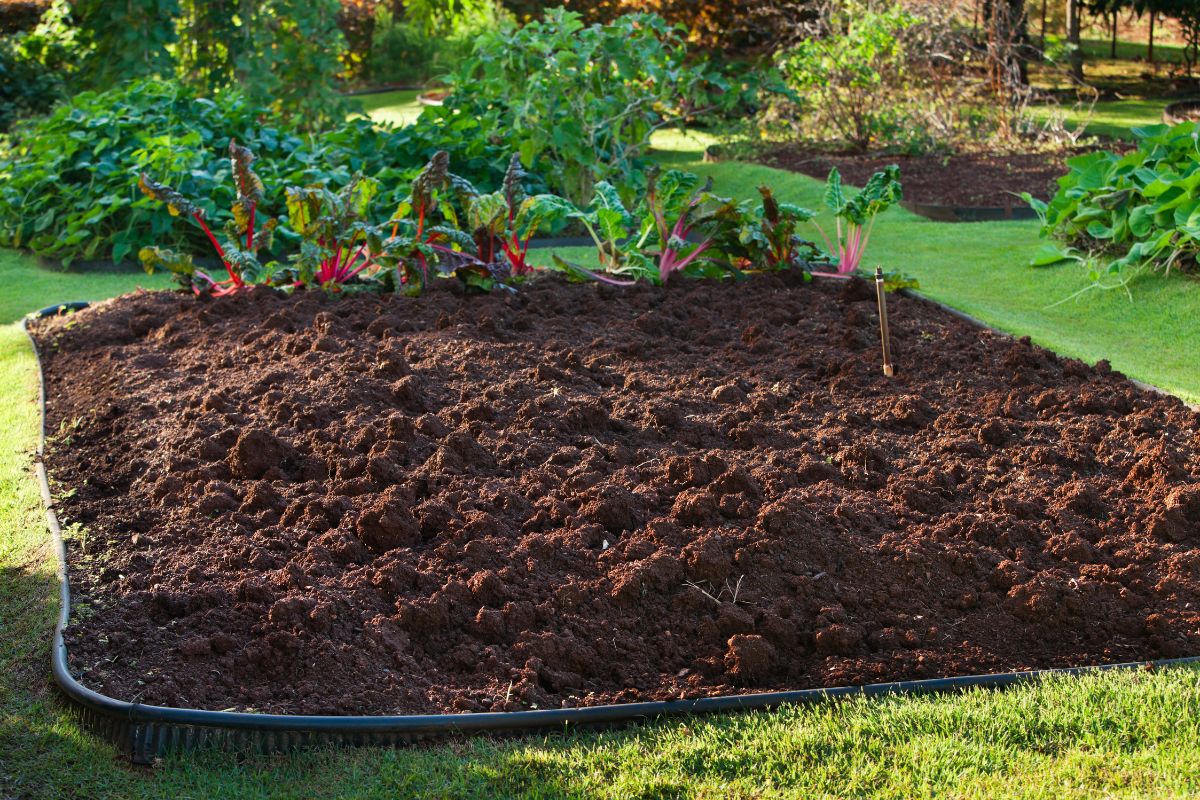
Pull up weeds, remove spent plants, and clear away any ground covering (don’t send your green debris to the landfill, put it in your compost bin). Then gently work in a 2” to 4” inch layer of premium GreenBlenz Compost or OMRI-Listed GreenBlenz Compost Organic into the top 8” to 12” inches of soil. Amending your garden soil with compost restores macronutrients and improves soil structure after the growing season. If you’ll be planting cool season crops, see our blog for planting tips.
Once your gardens are planted, or put to rest, top them with fertile mulch like Lenz Mulch which is made from a blend of fine red bark and GreenBlenz Compost. Mulching your garden beds helps suppress weeds and slows soil erosion. It also protects bulbs and roots from temperature swings and helps moderate moisture.
5. Drainage Control
If your lawn, walkways or driveway pools water, address these areas by managing stormwater flows and putting down gravel before winter rains begin to prevent flooding and standing water around your property.
Soggy lawn? Install a French Drain.
A French drain is a simple yet effective solution for managing excess water in your yard, garden, or around your home’s foundation. French drains are especially helpful for PNW homeowners looking for DIY drainage solutions. It is a slightly sloped trench that contains a perforated pipe surrounded by gravel and covered with sod. However, some homeowners top their French drains with cobbles, for a dry riverbed aesthetic.
Installing a French drain involves a few key steps:
- Identify the area with poor drainage.
- Dig a trench that slopes away from your home or structure (about 1 inch for every 8 feet of length).
- Line the trench with landscape fabric to prevent sediment from clogging the pipe, then place a layer of gravel at the bottom.
- Lay a perforated pipe (holes facing down), cover it with more gravel, and fold the fabric over the top before filling the trench with soil or decorative rock.
This system redirects surface water and groundwater away from problem areas to prevent flooding, erosion, and soggy lawns.
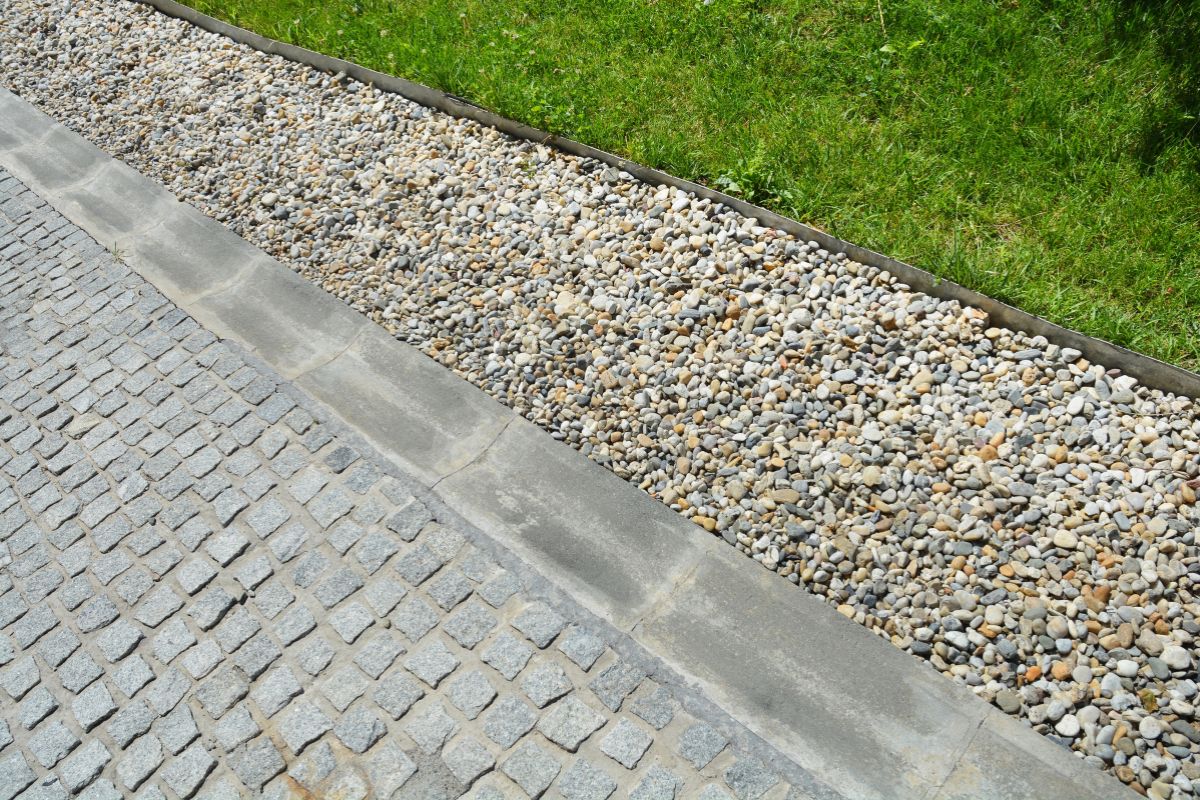
Potholes or pooling water on driveways or pathways? It’s time for gravel.
Choosing the right gravel for walkways and driveways is key to preventing potholes and standing water on your property. For driveways and walkways, a layered approach using ⅝” minus gravel is ideal. This type of gravel contains fine particles (known as “minus”) that compact tightly, forming a solid, stable base that resists erosion and water pooling.
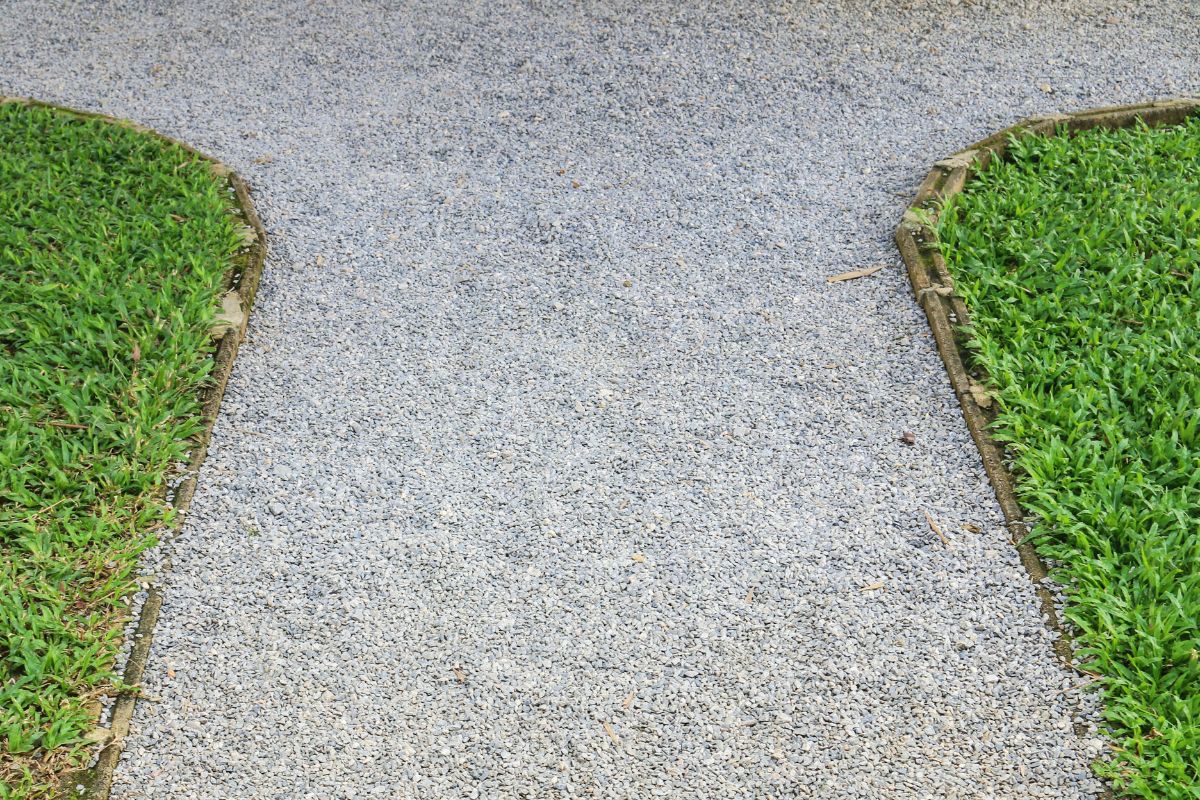
Start by removing any soft or organic material and leveling the surface you’re working with. If you’re creating a foot or garden path, laying down a weed barrier of landscape fabric before you put down gravel can make it easier to maintain.
After you lay down ⅝” minus, spread a 3” to 4” inch base layer of chips (such as ⅝” chips or ¾” chips) compact it thoroughly, and top it with another layer of ⅝” minus. Proper grading is essential, ensuring the surface slopes slightly to direct water runoff. This system helps improve drainage and reduces mud.
Prepare Now, Enjoy Later
By addressing these five winterization tasks for your property you’re setting your lawn and gardens up for a strong spring while also mitigating potential flood damage from winter storms.
Lenz Enterprises carries all of the Earth materials you’ll need to complete your projects including gravel, cobbles, compost, topsoil, mulch, and more. Stop by our retail yard and let us know what you need, or call us for delivery!
Thanks for Reading!
If you found this article helpful, get to know us by following Lenz Enterprises on Facebook and Instagram. We regularly provide education about soil, compost, and all of our Earth materials, gardening advice, and plenty of humor too! If you’re located in Western Washington and need materials give us a call 360-629-2933, we’re here to help!